If you’re a serious gamer, setting up the Red Dragon Mouse Battlefield 2040 Profil Anlegen (creating a profile) can greatly improve your gameplay. The right mouse settings can give you better control, faster reaction times, and an overall better experience in Battlefield 2040. In this guide, we will walk you through everything you need to know about creating a Red Dragon Mouse profile for Battlefield 2040, including setup, customization, advanced settings, and troubleshooting.
What is the Red Dragon Mouse?
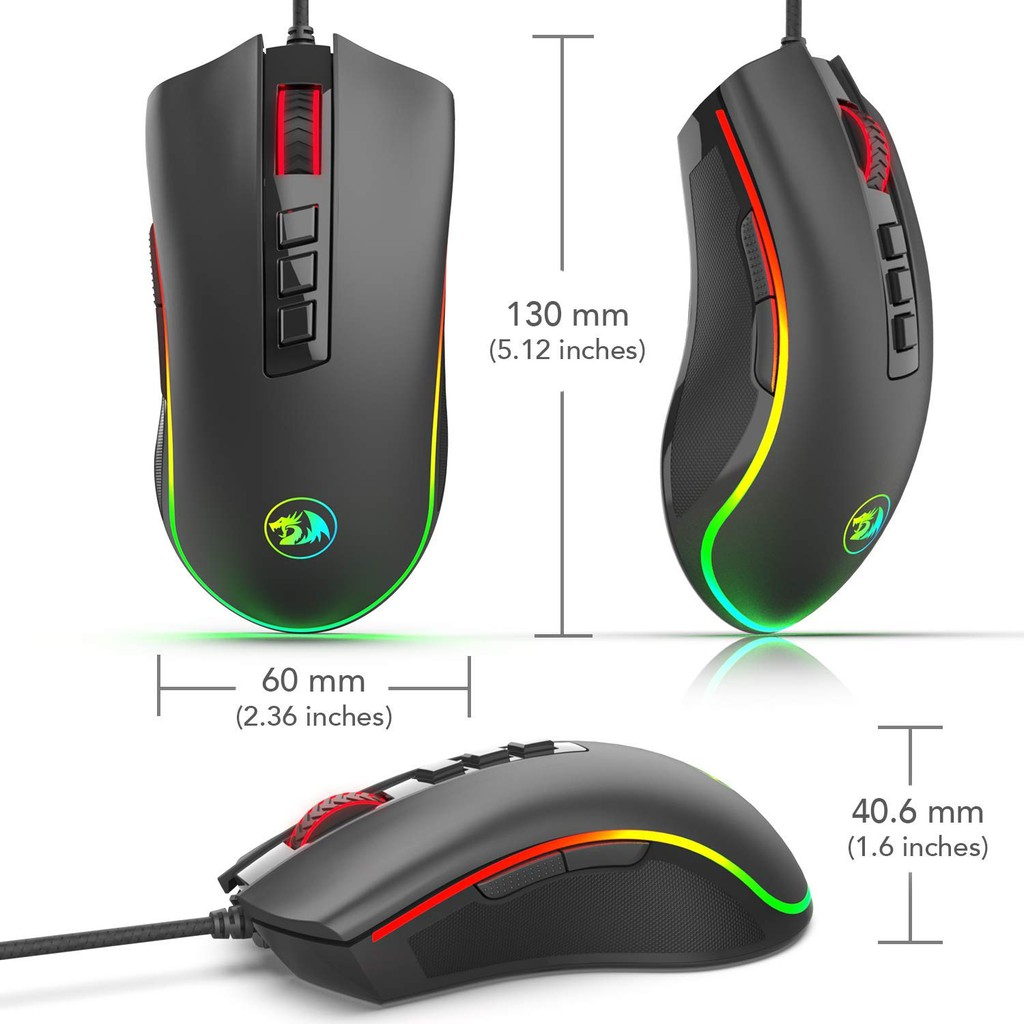
The Red Dragon Mouse is a high-performance gaming mouse that is widely used by gamers for FPS (First-Person Shooter) games like Battlefield 2040. It features programmable buttons, customizable DPI settings, RGB lighting, and ergonomic design to help gamers achieve maximum efficiency.
Why Create a Red Dragon Mouse Profile for Battlefield 2040?
Setting up a custom profile allows you to:
- Optimize DPI settings for better aiming and control.
- Customize button mapping for quick access to in-game functions.
- Save settings for different game modes (sniping, assault, vehicle combat, etc.).
- Improve reaction time with personalized keybindings.
Also Read: BetterThisWorld.com: A Comprehensive Guide to a Platform Making a Difference
How to Set Up a Red Dragon Mouse Profile for Battlefield 2040
Step 1: Install Red Dragon Mouse Software
Before creating a profile, you need to install the Red Dragon Software:
- Visit the Red Dragon official website.
- Download the software compatible with your mouse model.
- Install and open the software on your PC.
Step 2: Create a New Profile
- Open the Red Dragon Mouse Software.
- Navigate to the Profile Management section.
- Click “Create New Profile”.
- Name your profile “Battlefield 2040”.
- Click “Save”.
Step 3: Adjust DPI Settings for Battlefield 2040
DPI (Dots Per Inch) settings control mouse sensitivity. Recommended DPI settings:
- Low DPI (400-800): Best for sniping and precise aiming.
- Medium DPI (1000-1600): Balanced for all-around gameplay.
- High DPI (2000+): Good for fast movements and aggressive playstyles.
To adjust DPI settings:
- Go to the DPI Settings Tab.
- Choose custom DPI levels (e.g., 800, 1200, 1600, 2000).
- Assign color codes to each level for easy recognition.
- Click “Apply”.
Step 4: Customize Button Mapping
Also Read: Norstratiamrestaurant.com John South: Expert Recipes, Cooking Tips & Food Trends
Mapping the buttons correctly can enhance gameplay. Recommended settings for Battlefield 2040:
- Side Buttons: Assign for quick weapon switch or melee attack.
- Scroll Click: Assign for grenade throw.
- DPI Shift Button: Use for on-the-fly sensitivity adjustment.
- Sniper Mode: Assign a button to reduce DPI for precise shots.
To customize button mapping:
- Go to the Key Bindings tab.
- Click on a button and select a function.
- Save the changes.
Step 5: Adjust Polling Rate
Polling rate affects the response time of the mouse. Set it to 1000Hz for the best performance.
- Go to Polling Rate Settings.
- Select 1000Hz.
- Click “Save”.
Step 6: Save and Apply Profile
- Click “Save Profile”.
- Set the profile as default for Battlefield 2040.
- Test in-game and tweak settings as needed.
Advanced Customization for Battlefield 2040
1. Macro Setup for Faster Actions
Macros help automate actions for quick execution. Examples:
- One-click melee attack
- Rapid-fire mode for semi-auto weapons
To set up a macro:
- Open the Macro Editor.
- Click “Create New Macro”.
- Record a sequence of actions.
- Assign the macro to a button.
- Click “Save”.
2. RGB Lighting Customization
If you want to match your mouse lighting with Battlefield 2040’s aesthetic, you can:
- Set colors based on team factions (Blue for US, Red for Russia).
- Sync with in-game actions (e.g., red glow when low on health).
- Use breathing or wave effects for immersion.
3. Adjust Lift-Off Distance
For gamers who lift their mouse frequently, lowering lift-off distance prevents unwanted cursor movement.
- Go to Sensor Settings.
- Adjust lift-off distance to low.
- Click “Apply”.
Also Read: Iganiny: Revolutionizing Healthcare Data Management and Patient Care
Troubleshooting Common Issues
1. Red Dragon Mouse Not Detecting in Battlefield 2040
Solution:
- Restart the game and reconnect the mouse.
- Ensure Red Dragon Software is running.
- Update the mouse firmware.
2. Custom Profile Not Working
Solution:
- Check if the correct profile is active.
- Run the software as Administrator.
3. DPI Settings Reset Automatically
Solution:
- Disable auto DPI adjustment in software.
- Save settings to onboard memory.
FAQs about Red Dragon Mouse Battlefield 2040 Profil Anlegen
Can I use multiple profiles for Battlefield 2040?
Yes! You can create different profiles for sniping, vehicles, and general gameplay.
What is the best DPI for Battlefield 2040?
800-1600 DPI is recommended for most players.
How do I reset my Red Dragon Mouse profile?
In the software, go to Settings > Restore Defaults.
Can I use my profile on another PC?
Yes! Save the profile to the mouse’s onboard memory.
How do I test my profile settings?
Launch Battlefield 2040, enter a practice match, and tweak settings if necessary.
Final Thoughts
Setting up a Red Dragon Mouse Battlefield 2040 Profil Anlegen can make a huge difference in your gaming performance. By optimizing DPI, button mapping, macros, and polling rates, you can enhance precision and reaction time in Battlefield 2040. Take the time to experiment and adjust your settings for the best results!
Now that your mouse is fully optimized, it’s time to jump into the battlefield and dominate your enemies!